LaserCAD: Difference between revisions
Jump to navigation
Jump to search
(Created page with "== Installation == # Download LaserCAD from this website # Extract and install via setup.exe # Open System Options (Ctrl + J) #...") |
No edit summary |
||
| Line 9: | Line 9: | ||
The next two pages have an export/import feature, so let's just use that: | The next two pages have an export/import feature, so let's just use that: | ||
[[File:LaserCAD Configs.7z|thumb]] | [[File:LaserCAD Configs.7z|thumb]] | ||
Now | Now, in the main panel, use the "Select Mode" button and "Add" 10.10.20.80 to the list of machines and select it | ||
If that is set up correctly you can go to the control panel in LaserCAD and select the laser. Congratulations! You're ready to go. | If that is set up correctly you can go to the control panel in LaserCAD and select the laser. Congratulations! You're ready to go. | ||
Latest revision as of 12:25, 19 May 2019
Installation
- Download LaserCAD from [this website]
- Extract and install via setup.exe
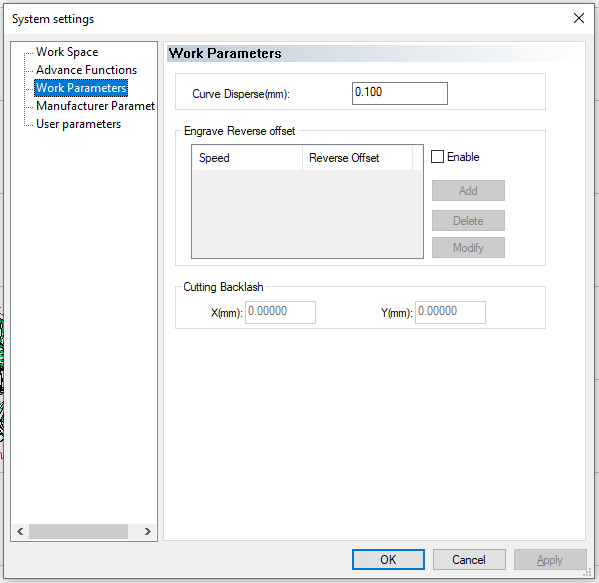
- Open System Options (Ctrl + J)
- Set these Settings:


The next two pages have an export/import feature, so let's just use that: File:LaserCAD Configs.7z Now, in the main panel, use the "Select Mode" button and "Add" 10.10.20.80 to the list of machines and select it If that is set up correctly you can go to the control panel in LaserCAD and select the laser. Congratulations! You're ready to go.